Fixing the Help Files
This page applies to version CCC-740
The help package provides detailed instructions on how to run the Visual Editor. The complete contents of the manual are available within the Visual Editor through the help file. Additionally, the user can select help, within specific panels and context sensitive help for that particular panel will be displayed.
For help to work in the Visual Editor, the vised.chm and vised.chi files need to be accessible. The Visual Editor will look for these files in the current working directory. There are several ways to solve this problem. We recommend using the first approach, but other options are available as described.
-
Create a Visual Editor development directory, for example 'c:\vised' where you view and create the MCNPX input files. Place the help files and the Visual Editor executable in this directory, then paste a shortcut to the visual editor executable on your desktop. If you want help available in any other directory, you will need to copy the vised.chm and vised.chi files from the MCNPX installation directory to the directory you will be accessing. Below is an example of how to do this in Windows Explorer. Also included are instructions on making a shortcut for the desktop.
-
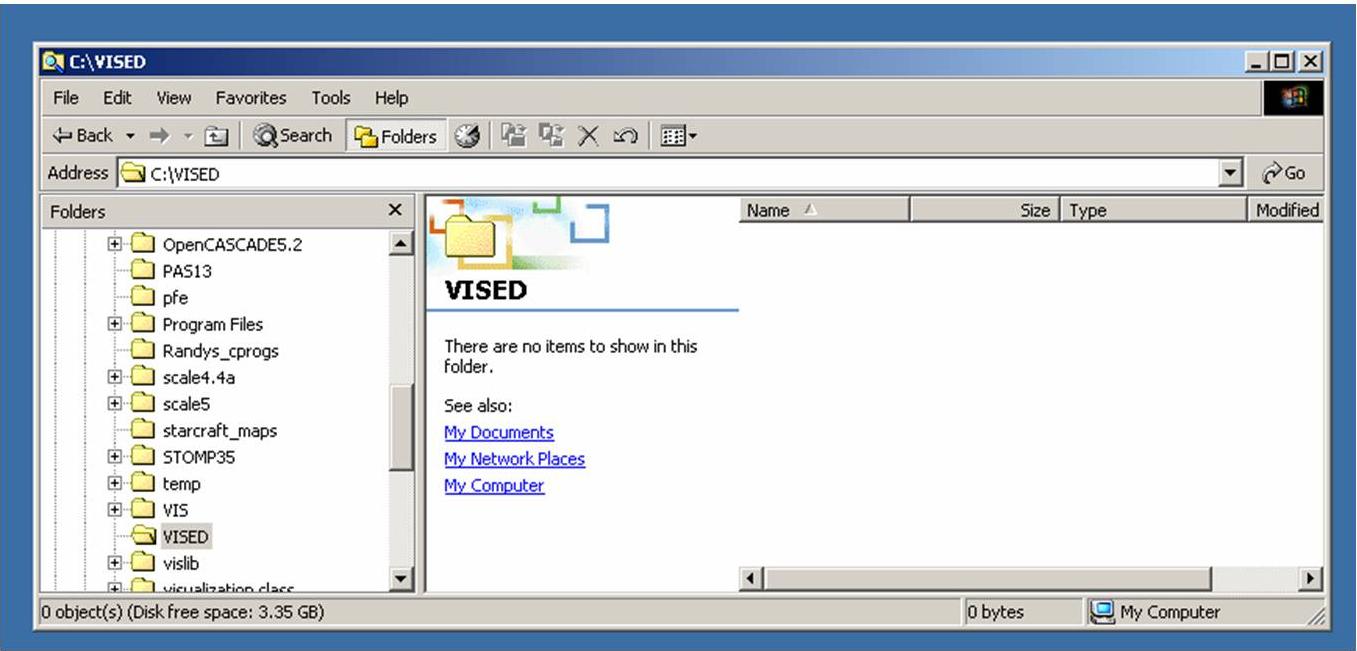
In Windows Explorer, create a new directory for example c:\vised.
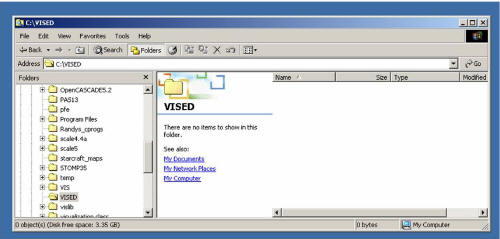
Figure 1. Creating a new folder.
-
Copy the files (visedX22S.exe, vised.chm, vised.chm) over from the “…\LANL\MCNP5\utilities\VISUAL_EDITOR” directory. The extensions may not show up in your Windows Explorer. If they do not, you can turn them on by clicking on Tools...Folder Options and selecting the View tab. Uncheck the box that says, 'Hide extensions for known file types.' See the figure below.

Figure 2. Tools...Folder OptionsView.
-
Paste the executable and help files into the directory you created in step a.
-
To create a shortcut, copy the executable and select Paste Shortcut on the desktop.
-
Help will now be available when executing the Visual Editor from the shortcut or directly from Windows Explorer.
-
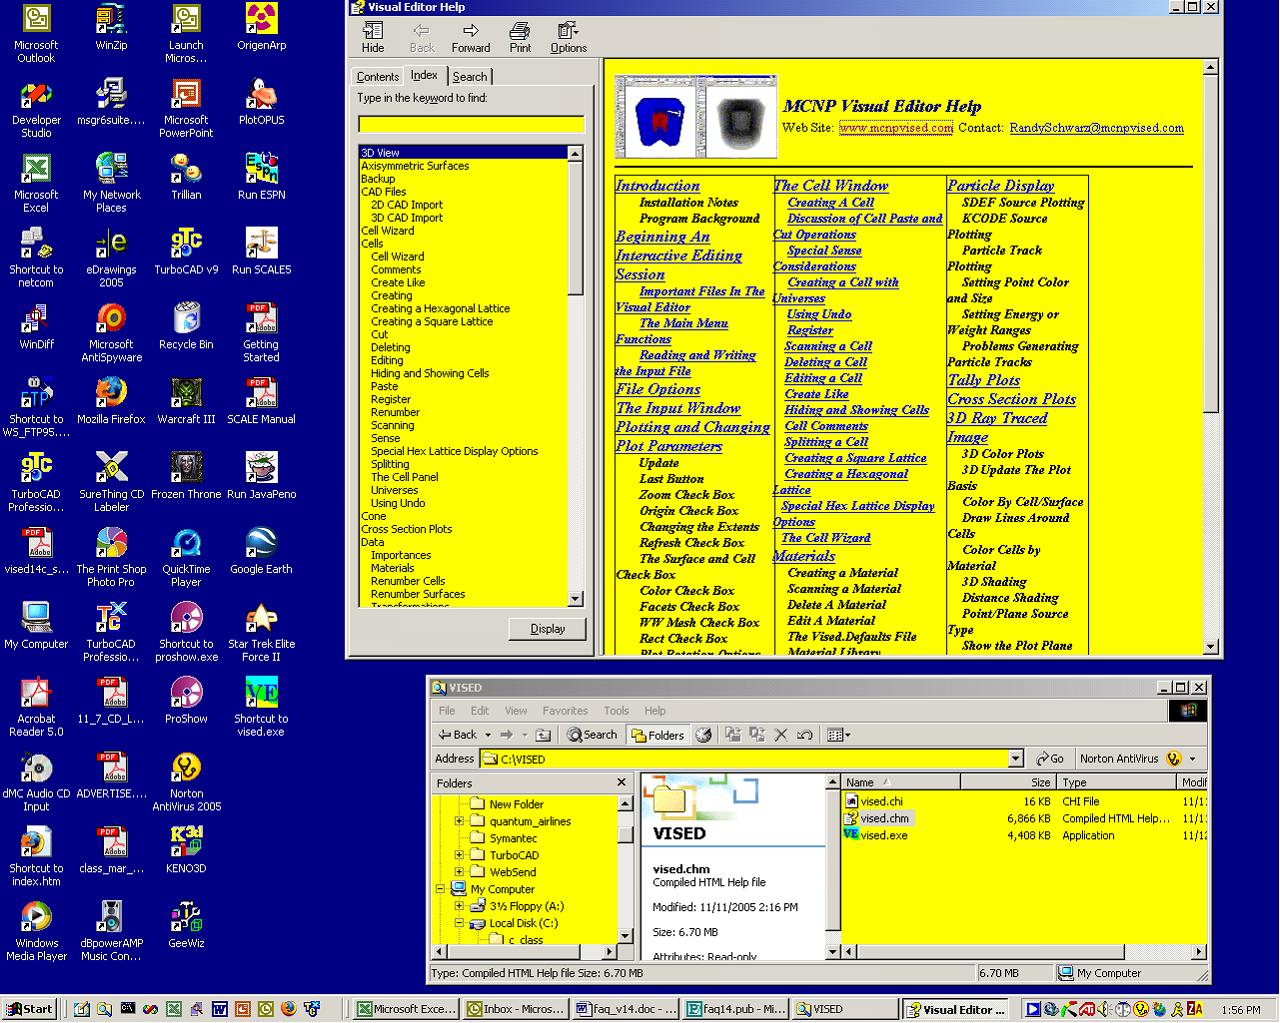
You can access the help files as a stand-alone html file, by clicking on the vised.chm file and it will come up in your web browser. You can then use the index and search functions to find the information you want.

Figure 7. Help displayed by double clicking on vised.chm file.